The title is actually a bit of a joke. I certainly wouldn't consider myself an artist. I've never taken any art classes above what was required in Jr. High. However, both my grandma and mom were/are talented when it comes to painting so I like to think there were some techniques passed down from them. That said, I certainly don't know everything there is to know and any "real" artists could certainly teach me a thing or two. ;)
If you've been following my blog for a while then you likely know that I painted the canvases in Sarah's room. If you missed them, you can see them here. A while back, I promised I would post a tutorial on how I made them but was unsure how to illustrate the process without taking pictures as I went. I've painted a few different canvases for my kids' spaces and for friends and family. Some have been more time consuming and complicated than others. Anyway, I thought I'd start easy for the first tutorial.
Here are some animal prints I initially painted for a smaller space. I have since painted much larger replicas for a friend to fill up a larger wall in her play room. One nice thing about starting with these, is that they're supposed to look like a child painted them...so they are pretty foolproof, right? Right.
I'm going to focus on only one of the animals because once you try one, you'll have the confidence to paint the others.
Materials needed:
- 10 x 10 canvas (or whatever size you'd like)
- paint - I don't have a specific brand that I prefer. I just pick out the colors I like.
- brushes
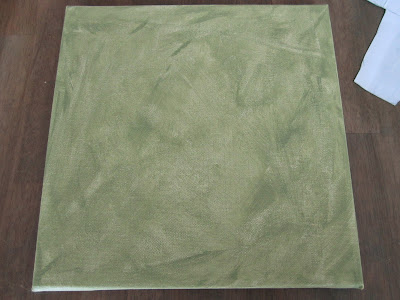
1) Paint entire canvas the background color of your choice. In order to enhance the brush strokes, I use a foam brush for this step.
2) I always draw the shape I want to paint on paper so I get it just right. Cut it out and lightly trace it with a pencil onto the painted canvas.
3) Paint inside the tracing. I always start in the middle and work my way to the edge.
This was after one coat. I added another coat.
4) Paint squiggles and tail. I mixed in a very small amount of black paint with the red to darken it a bit. Then I just had fun with it. I maybe had too much fun in some areas and had to go back over them with the original red paint to calm them down a little.
5) Paint eyes. Here is a trick I learned from my mom. One way to get perfect small circles is to dab the end of your brush into paint then carefully dab on the spot.
6) Use the same technique to paint the feet.
7) Place two dots and then connect them to create the mouth.
8) Paint two ovals for the birds. To add the legs, I again placed dots where I wanted the "knees" and connected the dots.
When I paint thin lines I like to use small short brushes like the one pictured below. I feel like I have more control and get cleaner lines.
Add the beaks, eyes and toes.
The colors are a bit off, but here it is all finished.
Here's another shot of the hippo with his other animal friends.


i don't think there's anything you can't do. i'm always so impressed!
ReplyDeleteWow! I love them. Have you ever thought of selling your work?
ReplyDeleteThank you. I have thought about it and may soon list some canvases on my Etsy shop.
Delete