

I'd been wanting to add a piece of furniture at the end of Ryan's bed for awhile, but I had a difficult time deciding on what exactly to do. Not only did I want it to be something he could sit on, but also I wanted to add some extra storage. We had thought of a trunk but the idea of little fingers getting pinched made that idea a little scary. I turned to Ana-white's website for help. I didn't find exactly what I wanted, but I did get some inspiration from the new Kentwood Bookshelf. It's constructed the same way but with some sizing adjustments.
This is the first time I've posted my own plans so I'm hoping they are clear and accurate.
Overall dimensions: 37" wide x 18" tall x 15" deep
Materials Needed:
2 - 8 ft 1x2
3 - 8 ft 2x2
6 - 8 ft 1x3
1 - 6 ft 1x12
1 1/4" pocket screws
1 1/4" nails or staples
Wood glue
Putty
Sandpaper
Paint/stain
Kreg Jig (You could use longer nails/screws instead of the Kreg Jig)
Wood glue
Putty
Sandpaper
Paint/stain
Kreg Jig (You could use longer nails/screws instead of the Kreg Jig)
Cut list:
6 - 1x3 @ 37"
5 - 1x3 @ 32 3/4"
1 - 1x2 @ 32 3/4"
9 - 1x2 @ 11 1/4"
4 - 2x2 @ 32 3/4"
1 - 2x2 @ 11 1/4"
4 - 2x2 @ 17"
2 - 1x12 @ 17"
*Make sure to glue each piece prior to nailing or placing a screw.
1) Nail two 11 1/4" 1x2's to the face of each of the 1x12's, one on the top and one on the bottom end. These will become the two sides of the bench.


The picture below shows one of 1x12's including the attached 1x2's facing down. Using a Kreg Jig, create pocket holes in the back of the 1x12.

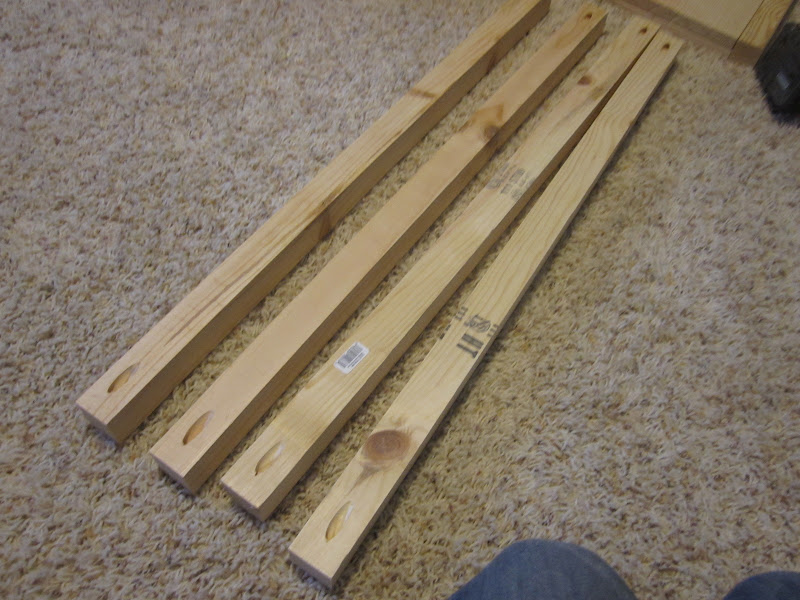
2) Attach two 17" 2x2's to the sides of each of the 1x12's using screws and the pocket holes. The 2x2's should be flush with the 1x2 trim as shown below.


3) Attach your 32 3/4" 2x2 to each corner, creating the bones for the bench. I again used my Kreg Jig to create pocket holes on each end of the boards.


Here is how it should look at this point.

4) Attach an 11 1/4" 1x2, centered between the lower rails (to support the middle of the base/shelf).


5) Attach the 11 1/4" 2x2 in between the top two 2x2's (as shown below). Also attach two 11 1/4" 1x2's evenly spaced between the center 2x2 and either end of the bench (as shown in the next image).

Here is a picture of how the supports should look (the bench is tipped forward so you can see it from the bottom.)

You want all the supporting boards to be flush on top.

6) Attach two 11 1/4 1x2's to the inside bottom of the 1x12. This will help support the planks on the bottom shelf/base.

7) Attach five 32 3/4" 1x3's and one 32 3/4" 1x2 to the base of the bench. I just used staples. I put the 1x2 in the front.


8) Attach six 37" 1x3's to the top. Start from the back and work your way to the front. The back board should be flush with the back of the bench. This will allow for a lip on the front of the bench.


You could leave it as is; it is certainly sturdy enough, but I wanted to add a back. Since I still had some leftover wood planks from our kitchen island project, I used those for the back. In order to create an even spacing, I used a small finishing nail to hold the space as I fastened the planks.

Now it just needs wood filler, sanding, and paint.

Here it is all finished in Ryan's room


Linked to:
Great project! I wanna make one for my daughter.
ReplyDeleteThank you! You should do it!
DeleteI love your blog. You have so much talent!!!
ReplyDeletexox,
Sammie
Thanks Sammie! You are very nice. :)
DeleteLove! Can't wait to make two!
ReplyDeleteThanks Ash, Can't wait to help!!
ReplyDeleteSo I only have 2 complaints about this post...1. I don't have a Kreg Jig and now I REALLY wish I did! It looks so nice and neat! 2. I don't have ANYWHERE to put this adorable bench, so I'll just have to dream about getting to make it someday. :) Love ya Kristi!
ReplyDelete