

In order to try to utilize our pantry space the best way possible, I decided to make a few storage crates. I still had some left-over wood from our kitchen island project found here and Ryan's toy shelf found here so I decided to use it for this project too.
Small: 8" wide x 4" high x 20" deep
Large: 9" wide x 8" high x 20" deep
Materials Used:
- 1" x 2"
- 1 1/2" x 1/4" (slats or lath strips)
- 1/4" press board (could also use plywood or mdf board)
- wood glue
- nails or staples
- paint
Cut list:
Small:
- 4 - lath boards @ 8"
- 4 - lath boards @ 19 1/2"
- 4 - 1" x 2" boards @ 4"
- 20" x 8" press board
Large:
- 8 - lath boards @ 9"
- 8 - lath boards @ 19 1/2"
- 4 - 1" x 2" boards @ 8"
- 20" x 8" press board
1) Cut boards. Cut the 1 x 2" to the height that you want to make it. Then cut the lath boards to the width and depth that you want.
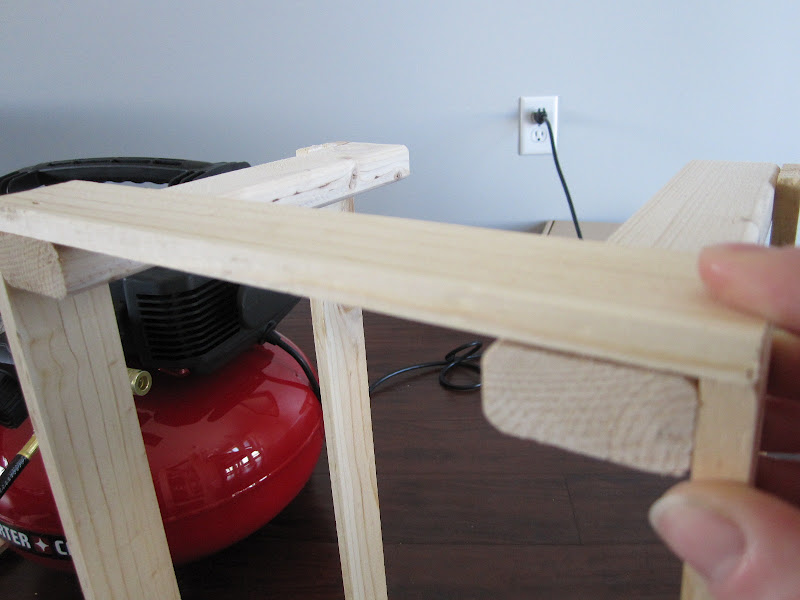
2) Glue and then attach the long slats to the 1 x 2 like I did in pictures below. These will be the sides.


3) Glue and attach the two sides together with the small lath strips as shown in the picture below. This will form the front and back of the crate.

4) Attach the bottom MDF board. It should be flush with all sides. Again, glue then staple/nail.

5) Attach the horizontal support slats to the frame of the crate. For the taller crate, I wanted four horizontal rows of lath strips on each side. Really you could do this step earlier, but I found it easier to wait till this point since the crate is sturdier with the bottom attached.

Here they are all finished:


What a great idea for storage. I've got some left over bed slats that may be getting used soon! :)
ReplyDeletegreat job kristi! You've done it again.
ReplyDelete